I. Introduction
Welcome to our blog on “The Ultimate Kitchen Cleaning Checklist: A Step-by-Step Guide.” We know that the kitchen is the heart of the home, where delicious meals are prepared, and memories are made. But let’s face it, keeping the kitchen clean can sometimes feel like a never-ending battle. That’s why we’ve put together this checklist to make your life easier and your kitchen sparkle.
In this post, we’ll walk you through every step of the cleaning process, ensuring that no corner of your kitchen goes untouched. Whether you’re a seasoned cleaning pro or just getting started on your journey to a pristine kitchen, this checklist will be your trusty companion.
We’ll start by prepping for the cleaning session, gathering all the necessary supplies, and getting ourselves ready for the task at hand. Then, we’ll dive into the step-by-step guide, tackling everything from decluttering and organizing to wiping down surfaces, cleaning appliances, and even giving some extra attention to the sink, stovetop, oven, refrigerator, cabinets, pantry, floors, and small appliances.
But wait, there’s more! We won’t leave you hanging after the cleaning session. We’ll also share some valuable tips on how to maintain a clean kitchen on a day-to-day basis. These little tricks will help you stay on top of things and ensure your kitchen remains fresh and inviting.
So, get ready to roll up your sleeves, put on your favorite cleaning playlist, and let’s transform your kitchen into a spotless haven that will make you proud. Follow our ultimate kitchen cleaning checklist, and you’ll be cooking up a storm in a clean and organized space in no time. Let’s get started!
II. Preparing for Cleaning
Alright, let’s get this kitchen cleaning party started! But before we dive into the nitty-gritty, we must ensure we’re well-prepared. Here’s what you need to do to set yourself up for success:
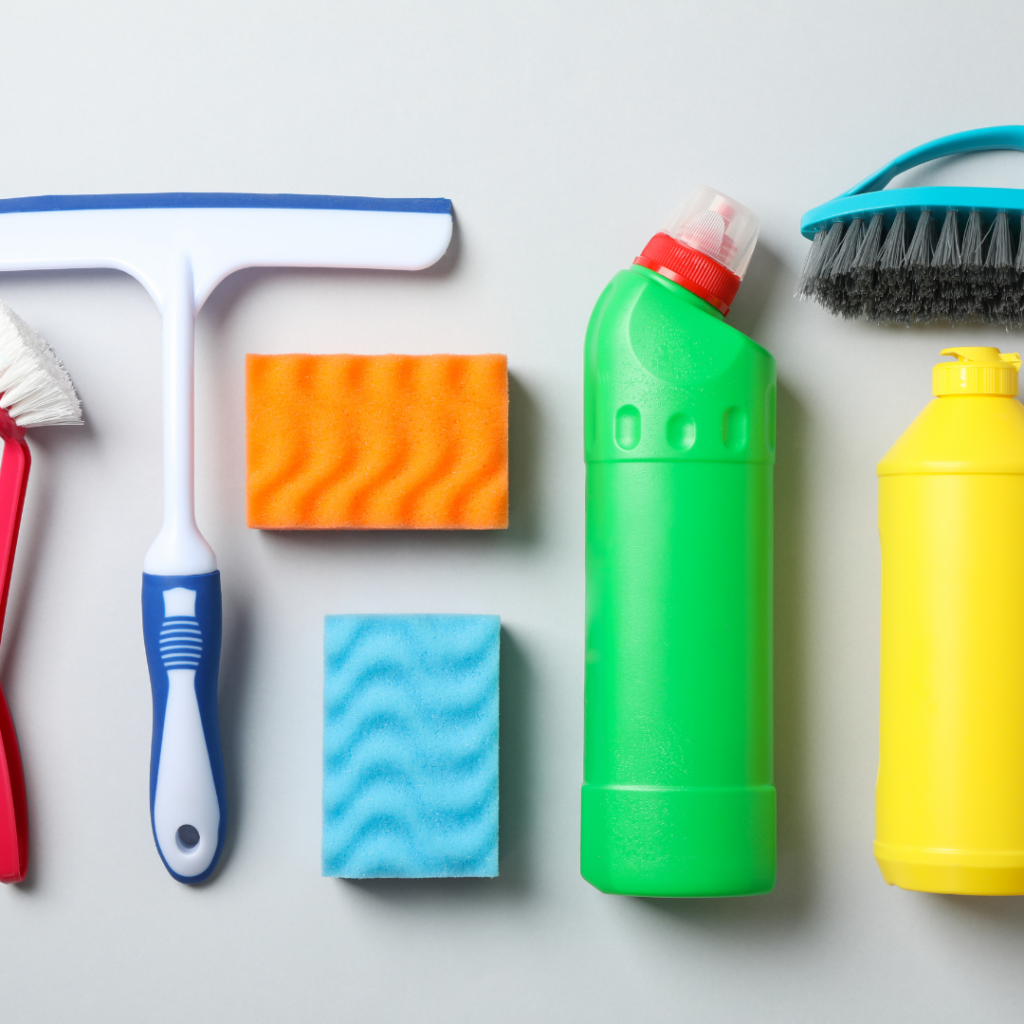
First things first, gather all the necessary cleaning supplies and tools. You don’t want to be running back and forth searching for that elusive sponge or spray bottle while you’re in the midst of cleaning. Grab your favorite all-purpose cleaner, disinfectant wipes, microfiber cloths, scrub brushes, and anything else you’ll need to tackle those stubborn stains and grime.
Next, remember to put on your cleaning attire. Trust us, you don’t want to ruin your favorite outfit or risk getting bleach on your clothes. Opt for comfortable clothing you don’t mind getting dirty, and throw on an apron for extra protection.
Now that you’re geared up, it’s time to clear off those countertops and surfaces. Remove any appliances, dishes, or clutter that might get in your way while cleaning. This will give you a clean slate to work with and make the process much easier.
By taking these preparatory steps, you’ll ensure a smoother and more efficient cleaning experience. So, grab your supplies, put on your cleaning gear, and let’s move on to the main event: the step-by-step cleaning guide!
III. Step-by-Step Cleaning Guide
Alright, folks, it’s time to dive into the meat and potatoes of our kitchen cleaning checklist. This step-by-step guide will ensure that no nook or cranny is left untouched. So, grab your gloves, roll up your sleeves, and let’s get cleaning!
Step 1: Declutter and Organize
We all know how quickly things can pile up in the kitchen. Start by tackling the cabinets and drawers. Take everything out, give them a good wipe-down, and get rid of any unnecessary items. Trust us, decluttering will make your kitchen feel instantly more spacious and organized.
Next, it’s time to tackle the countertops. Clear off any items that don’t belong and find a good home for them. Creating a clutter-free workspace will make cooking and cleaning a breeze.
Step 2: Wipe Down Surfaces
Now that you have a clean canvas to work with let’s give those surfaces a good wipe down. Grab your favorite all-purpose cleaner or disinfectant wipes and start scrubbing. Pay special attention to countertops, backsplashes, and other high-touch areas. Remember to clean and polish those stainless steel surfaces for a dazzling shine!
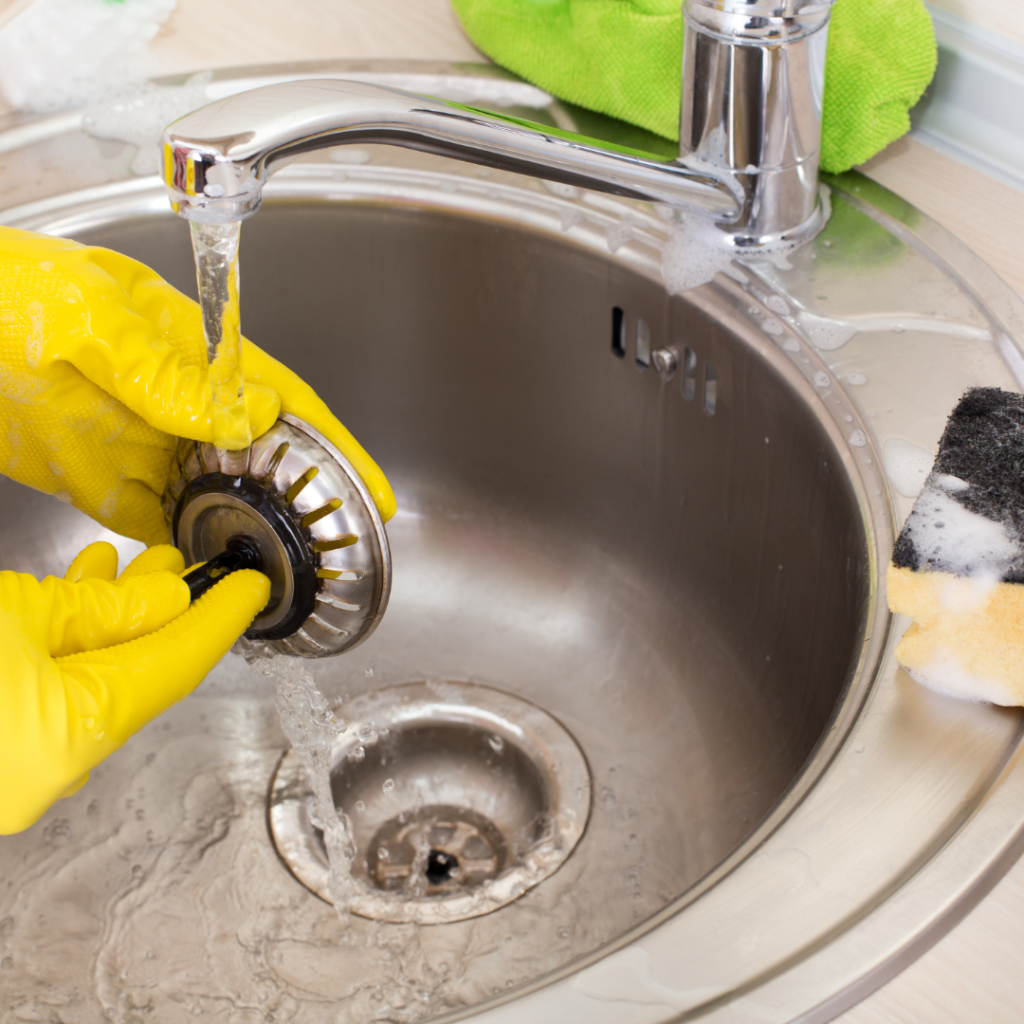
Step 3: Clean The Kitchen Sink
A clean kitchen sink can be a pride for any homemaker. The idea of working in a grease-free space and having hygienic conditions to carry out cooking activities is kind of refreshing. So, make it a point to give your sink some extra love and attention occasionally.
Begin by removing any dishes or debris from the basin. Then, rinse it thoroughly with water and sprinkle a generous amount of baking soda onto it. Using a soft-bristled brush, gently scrub the sink while focusing on any stained areas. To tackle tough stains, let the baking soda rest for a few minutes before scrubbing.
After rinsing, apply a good quality cleaner to kill germs and bacteria and make your sink shine. When everything looks sparkly clean, don’t forget to sanitize the faucet and handles too. This will ensure you have a clean and hygienic kitchen sink that looks impressive, smells good, and makes life so much easier. Your sink will thank you!
Pro Tip: I typically try not to promote or suggest one brand of cleaning products over another; I will make an exception here because it works so well. My favorite product for sinks, tubs, and showers is Soft Scrub with Bleach. It works great on most sink surfaces, brightening any enameled sink and really polishing stainless steel. The added bleach also tackles any smells and disinfects all in one shot.
Step 4: Tackle the Stovetop and Oven
The stovetop and oven, undoubtedly, are two of the most frequently used kitchen appliances. While they work tirelessly to prepare sumptuous meals, they can quickly become spattered with grease and food particles. However, removing grates and burners and giving them a thorough soak in hot water go a long way in eliminating build-up and grime. Once they are clean, proceed to use a non-abrasive cleaner or a baking soda and water mixture to wipe the stovetop surface. As for the oven, an oven cleaner or a paste of baking soda and water will do the trick in eliminating stubborn residue. A little TLC can transform your cooking appliances, and they will look sparkling new!
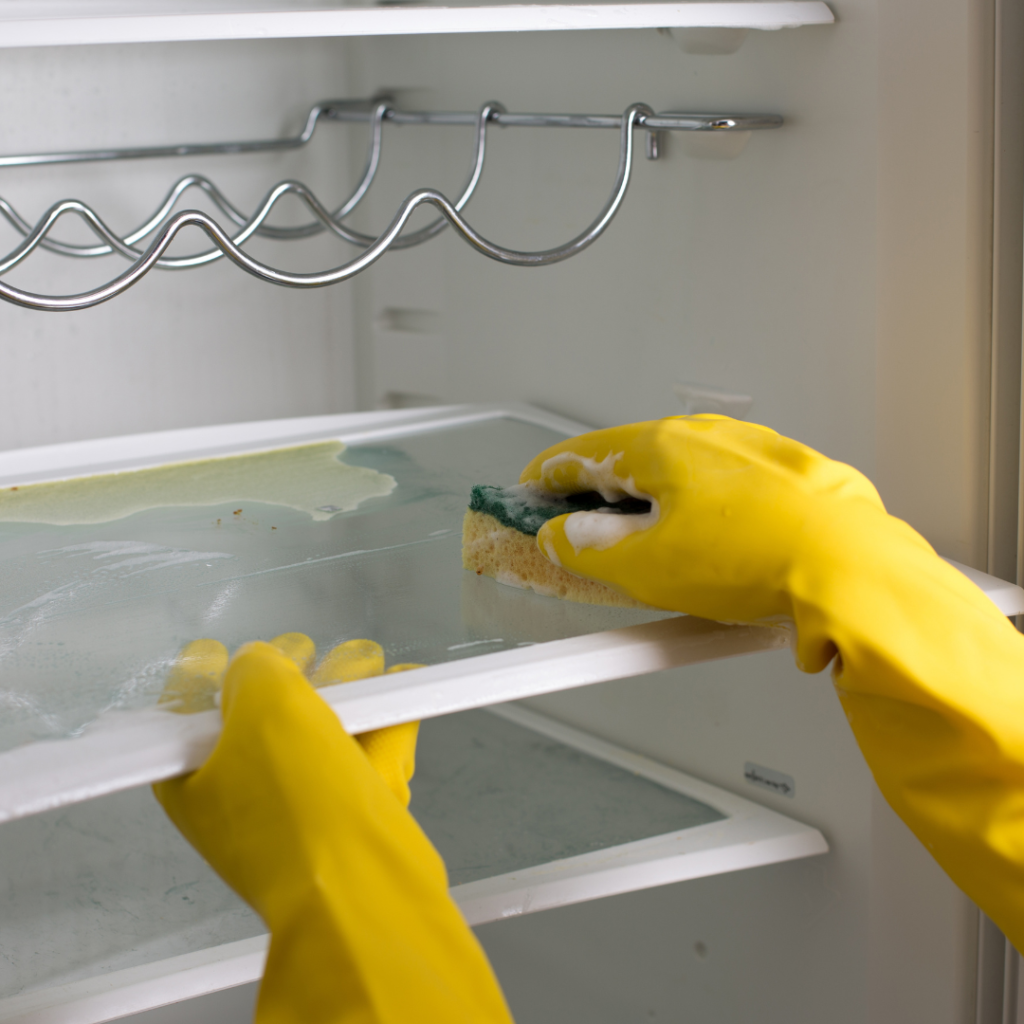
Step 5: Clean the Refrigerator
Time to give your refrigerator some love. Start by emptying it and organizing the contents. Wipe down the shelves, drawers, and compartments with a mild cleanser. And don’t forget the exterior—give it a good wipe down too. Your fridge will be fresh and ready to store all your favorite treats.
Step 6: Clean Cabinets and Pantry
Let’s not forget about those storage spaces. Empty the cabinets and pantry shelves and wipe them down to remove any crumbs or spills. Consider organizing them with shelf liners or storage containers to keep things tidy. Oh, and don’t forget to bid farewell to any expired or unused items. Out with the old, in with the organized!
Step 7: Scrub the Floors
Time to get down on our hands and knees (or use a trusty mop). Sweep or vacuum the floor to remove any loose debris, then mop away with a suitable floor cleaner. Pay extra attention to corners and hard-to-reach areas. Your kitchen floor will shine and sparkle, ready to withstand any culinary adventures.
Step 8: Clean Small Appliances
Last but not least, let’s give those small appliances some attention. Unplug and wipe down the toaster, blender, coffee maker, and other gadgets that grace your kitchen countertops. A mixture of water and vinegar or a microwave-specific cleaner will do the trick for the microwave. And don’t forget to give any stainless steel appliances a final polish for that showroom finish.
Phew! We’ve covered a lot of ground, but your kitchen is now cleaner.
IV. Maintenance Tips for a Clean Kitchen
Congratulations on completing the thorough kitchen cleaning session! Now, let’s talk about how to maintain that pristine state and keep your kitchen looking fabulous daily. Here are some handy maintenance tips:
1. Regularly wipe down surfaces
Make it a habit to wipe down your countertops, stovetop, and other surfaces daily. It takes only a few minutes, but it can help prevent the buildup of grime and bacteria which can make cleaning more time-consuming and difficult later on. Plus, a quick wipe-down can make your kitchen feel brighter and more inviting, which is a nice mood boost when you’re cooking or hosting guests. So why not take a few moments each day to keep your kitchen looking and feeling its best?
2. Clean spills and stains immediately
Accidents can happen at any time, and it’s vital to address them promptly. Not only does it make cleaning up the mess easier, but it can also prevent the stain from setting in, making it more challenging to remove.
Therefore, immediately, grab a soft cloth or paper towel and tackle those messes. By doing so, you’ll keep your surfaces cleaner and prevent difficulties in the future!
3. Empty trash regularly
Nobody wants their kitchen to be a haven for unwanted pests or lingering odors. A simple habit like regularly emptying your trash can go a long way in keeping your kitchen clean and hygienic. Using liners can make the process even more efficient and keep debris from sticking, making your cleaning routine a breeze. So, don’t let the garbage pile up, and keep your kitchen smelling fresh and clean!
4. Wash dishes promptly
After a delicious meal, leaving the dishes for later can be tempting. However, postponing the chore can lull us into a false sense of ease. Before we know it, dirty dishes start to pile up, and the task becomes incredibly daunting. Not only does it create an eyesore in our homes, but it also attracts pests. Soon they will start crawling around the kitchen, taking some bites. To avoid such scenarios, it’s essential to develop the habit of washing dishes or loading them into the dishwasher as soon as we finish eating. This small step can help maintain the cleanliness of our living spaces while keeping unwanted insects and crawling creatures at bay.
5. Keep a cleaning caddy handy
Keeping a cleaning caddy stocked with your go-to supplies is a smart way to make your life easier. It ensures that you always have your cleaning essentials on hand, from your preferred cleaning solvents to your trusty sponges and rags. With a well-stocked caddy at your disposal, you’ll be able to handle any spills or messes without needing to search for individual items, so you can spend less time cleaning and more time enjoying life.
6. Refresh your refrigerator regularly
Take a few moments at the beginning of each month to check your refrigerator for items that might be expired or spoiled. This simple practice can help prevent the buildup of unpleasant odors and improve the longevity of your food items. Consider adding a notebook or memo pad near the fridge to record expiration dates and take note of any items that need to be replaced or replenished on your next trip to the grocery store. By performing this regular maintenance routine, you can rest assured that you’re keeping your refrigerator clean, fresh, and organized.
7. Sweep or vacuum the floor regularly
Sweeping or vacuuming the floor regularly (once a day if possible) is crucial for avoiding the build-up of dirt and debris, keeping your floor clean, and creating a welcoming atmosphere. Not only does this ensure a more hygienic space, but it also helps to prevent any accidents that could be caused by slipping on a dirty floor. Start today and make sweeping/vacuuming an essential part of your kitchen cleaning routine!
8. Schedule deep cleaning sessions
Daily maintenance tasks are essential to keep your home in tip-top shape. However, in addition to these regular chores, it’s important to schedule periodic deep cleaning sessions for those hard-to-reach areas that often go unnoticed. Consider tasks such as cleaning behind appliances, scrubbing grout lines, or organizing kitchen cabinets – these activities can help keep your space sparkling clean and fresh!
By incorporating these maintenance tips into your routine, you’ll ensure that your kitchen remains a clean and welcoming space for all your culinary adventures.
V. Conclusion
And there you have it—the ultimate kitchen cleaning checklist,
along with some valuable tips for effective maintenance to ensure your kitchen shines bright. Using the kitchen is a daily ritual for many of us, but keeping it clean can sometimes feel overwhelming, with so many things to consider. That’s where our ultimate kitchen cleaning checklist comes in handy, with easy-to-follow guidelines that will help keep your kitchen spick-and-span.
With our checklist, you won’t miss a spot and will have a step-by-step guide to a sparkling kitchen. A clean kitchen not only promotes hygiene and minimizes bacteria growth but also creates a pleasant environment to cook, entertain, and spend quality time with your loved ones.
So, go ahead, embrace the checklist, and make it your trusted companion in your quest for a spotless kitchen. Here’s a pro tip to help you stay on top of your cleaning game: choose a day for a deep clean. With a little effort and consistency, you’ll have a kitchen you’re proud to show off and enjoy. And who knows, you might even discover joy in cleaning and organizing. Happy cleaning!